How to Shuck Oysters at Home: A Step-by-Step Guide for Beginners

Shucking oysters may seem like a daunting task, reserved for professional chefs and seafood experts. However, with the right tools and a little practice, anyone can learn how to shuck oysters at home. In this comprehensive guide, we’ll break down the process into easy-to-follow steps, providing you with the knowledge and confidence to enjoy freshly shucked oysters in the comfort of your own kitchen.
Gather Your Tools
Before you dive into shucking oysters, it’s crucial to assemble the necessary tools. Here’s what you’ll need:
– Fresh oysters
– Oyster knife
– Towel or glove for hand protection
– Cutting board
– Lemon wedges (optional)
– Cocktail sauce (optional)
– Horseradish (optional)
Safety First: Protect Your Hands

Safety is a top priority when working with oysters. The shell is sharp and can easily cause cuts or slips. To protect your hand, consider using a thick towel or a specialized oyster-shucking glove.
Inspect and Clean the Oysters
Examine your oysters for any cracks or damage on the shell. Discard any oysters that appear to be dead or have broken shells. Rinse the oysters under cold running water to remove any sand or debris.
Properly Position the Oyster

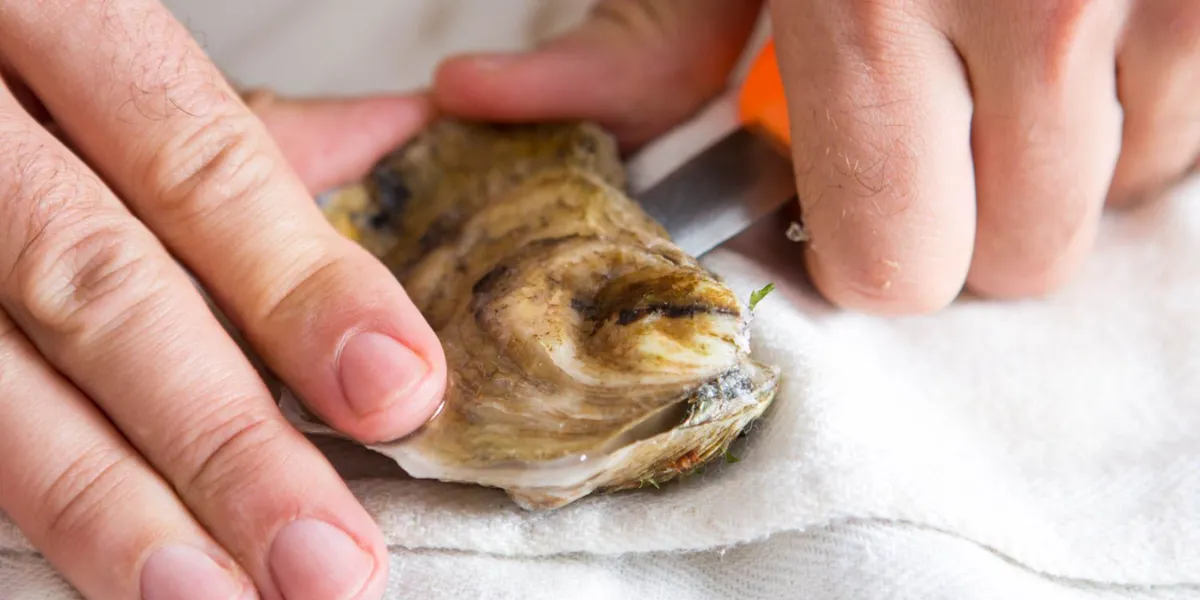
Hold the oyster with the curved side down and the flat side up. Place it on a stable surface, such as a cutting board, to prevent it from rolling.
Locate the Hinge
Identify the hinge of the oyster. The hinge is the point where the two shell halves meet. This is where you’ll insert your oyster knife to open the shell.
Insert the Oyster Knife
With your gloved or towel-protected hand, hold the oyster firmly on the cutting board. Insert the tip of the oyster knife into the hinge, angling it slightly downwards. Apply gentle but firm pressure.
Wiggle and Pry

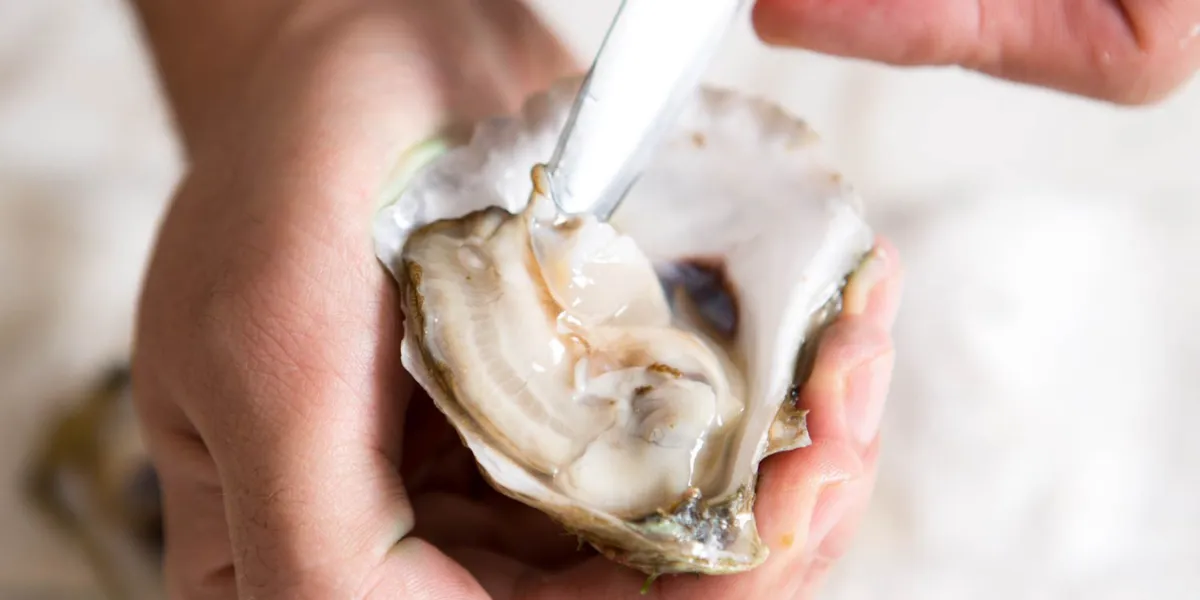
Once the knife is inserted, gently wiggle it back and forth to loosen the oyster’s muscle from the shell. As you feel the hinge start to give, begin to pry the shell open by leveraging the knife.
Open the Shell
Continue to work the knife around the edge of the shell, gradually separating the top and bottom shells. Be patient and take your time to avoid damaging the oyster meat.
Cut the Muscle
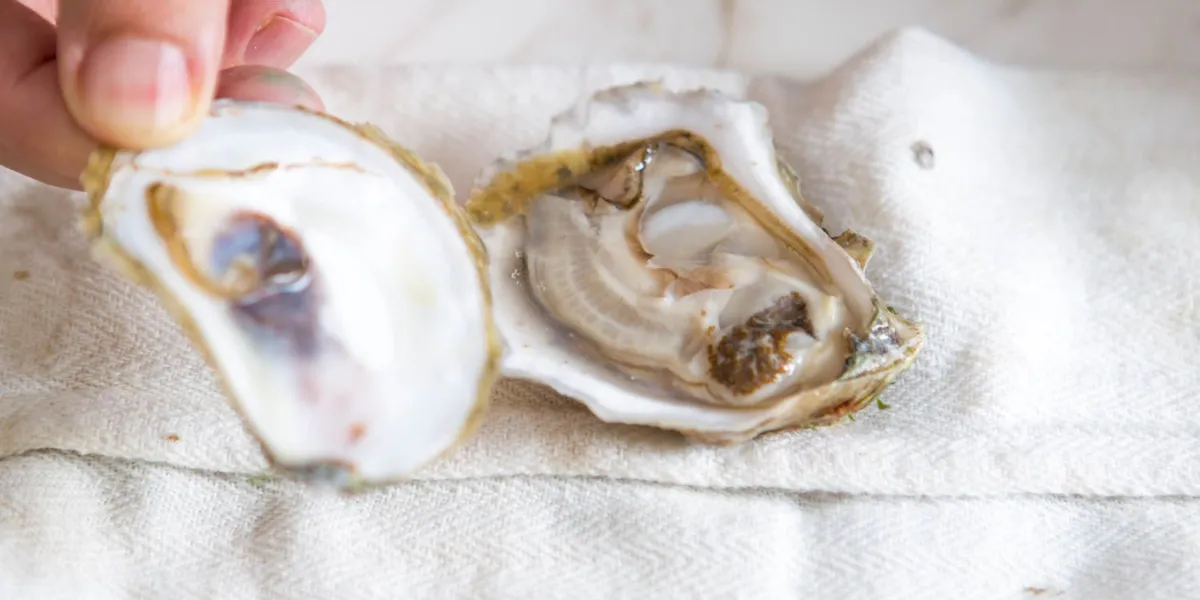
After successfully opening the oyster, carefully cut the muscle that attaches the oyster to the top shell. This will allow you to fully separate the oyster from the shell.
Remove Any Shell Fragments

Inspect the oyster for any small shell fragments or debris. You want to ensure that only the succulent oyster meat remains.
Presentation and Serving
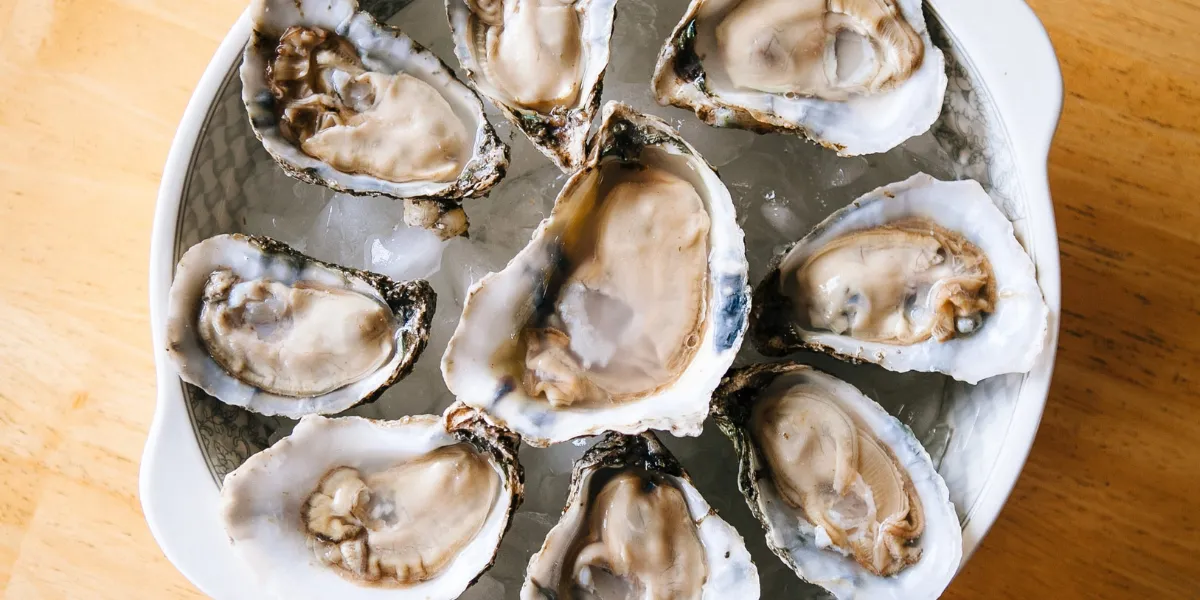
Transfer the shucked oyster onto a bed of crushed ice or a clean plate. If desired, serve with lemon wedges, cocktail sauce, or horseradish to enhance the flavor.
Enjoy Your Freshly Shucked Oysters

Now that you’ve successfully shucked your oysters, it’s time to savor the fruits of your labor. Oysters are best enjoyed fresh, so indulge in their briny goodness right away.
Practice Makes Perfect
Shucking oysters can be a skill that improves with practice. Don’t be discouraged if your first few attempts are a bit tricky. The more you practice, the more confident and efficient you’ll become.
Shucking oysters at home is a rewarding culinary skill that allows you to enjoy the delicacy of freshly shucked oysters without leaving your kitchen. By following this step-by-step guide and prioritizing safety, you can become a proficient oyster shucker in no time. So, gather your tools, select some fresh oysters, and embark on your oyster-shucking journey today. Bon appétit!
Click here for more visited Posts!


Discussion about this post